Creating an application is one thing. Keeping it to a certain quality level is another thing entirely. These days, you can find many tools which can help you to keep the quality of your application in shape. Running these tools one by one can be very time consuming. For that, you can install so called continuous integration (CI) services. PHPCI is one of those and in this article, we will dive into it.
Continuous integration service
A continuous integration service is an application which runs certain quality check tools against your code. For example, a CI could pull in your git repository. When done, it runs unit tests, checks your code for validations and generates reports based on it. In general, a CI runs on certain time intervals or on every push. The most seen situation is right after creating a merge request. By checking the merge request, the code is checked before being merged, making sure you are not accepting code which could break functionality. So integrating CI within your development procedure can make sure bad code is kept out of your main repository and you can validate automatically if everything meets your requirements before accepting changes.
Installation
Installation can be done in two different ways. Either you download the latest release or you follow the installation guide. I decided to go with the installation guide and install it through Composer. After running composer update you can run the install script. You will be questioned for database credentials and your email address. When done, a user is created with the given email address.
You also need to set a cronjob so builds are run automatically.
Setup
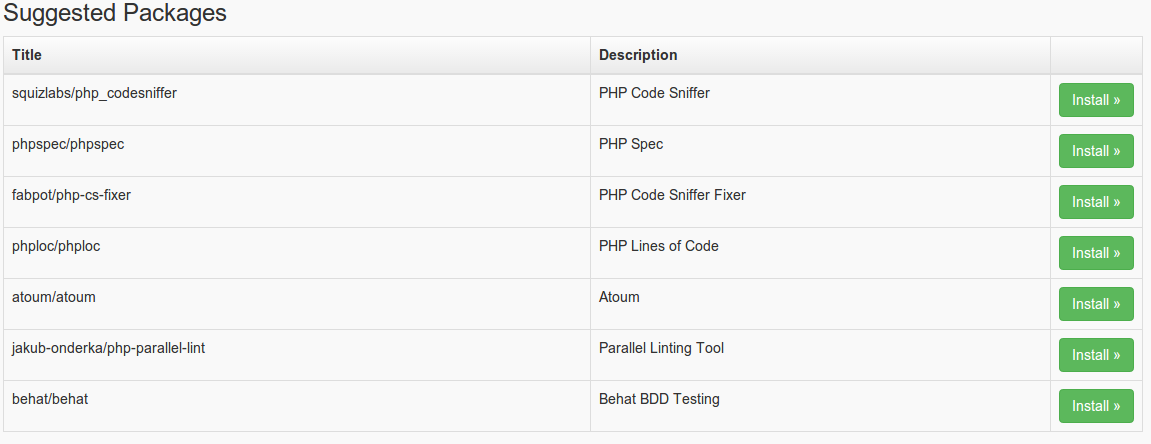
Depending on what you want to do, you have to install some tools. After logging in, you can go to admin manage plugins and install any necessary plugins. By installing a plugin, you are updating the composer.json file with new requirements. So right after you installed the plugins you need to run composer update to actually install these plugins.

Add a project
By clicking the add project button in the header, you can create a new project. You have to fill in a simple form, which indicates were the code is located. You can choose between different kinds of services like Github and Bitbucket, but also for your own remote or local URLs. If you don’t have a phpci.yml configuration file within your repository, you need to provide the build configuration. Within his configuration, you define how the project needs to be set up, which tools you want to run and how to finalize the build.
Each build process consists of 5 phases.
- Setup. The phase were everything is initialized
- Test. The phase were all tests are executed
- Complete. Success or failure, this part will always run
- Success. Will only be run in case of success
- Failure. Will only be run in case of failure
I will be using this project as our project. We want to ignore default directories like app and vendor. Installation will be done through Composer. The project should be PSR2 compliant, has unit tests and contains decent docblocks. We also want to check if the overall quality is fine by running PHPMD, PHPCPD and PHPLoc.
PHPCI is capable of handling a test database. However, the project we are using in our example does not have any functional tests, so we will leave out the MySQL connection.
Let’s take a look at what the configuration would look like.
Continue reading %Continuous Integration with PHP-CI%
more
{ 1 comments... » Continuous Integration with PHP-CI read them below or add one }
Instead of PHP CI, I would recommend you to use Travis CI for PHP Continuous Integration. With this tool, you can test code for bugs easily in just few minutes when pushing to your repo.
Post a Comment